You might be surprised to learn that I actually love painting. Oddly enough I love painting houses and not so much painting as a hobby. But that comes in very handy when there’s work to be done in the house. Especially throughout our Home Makeover for Renters Series! If you haven’t had time to catch our other blog posts, make sure to read up to see everything we’ve accomplished in the Bathroom and the Bedroom.
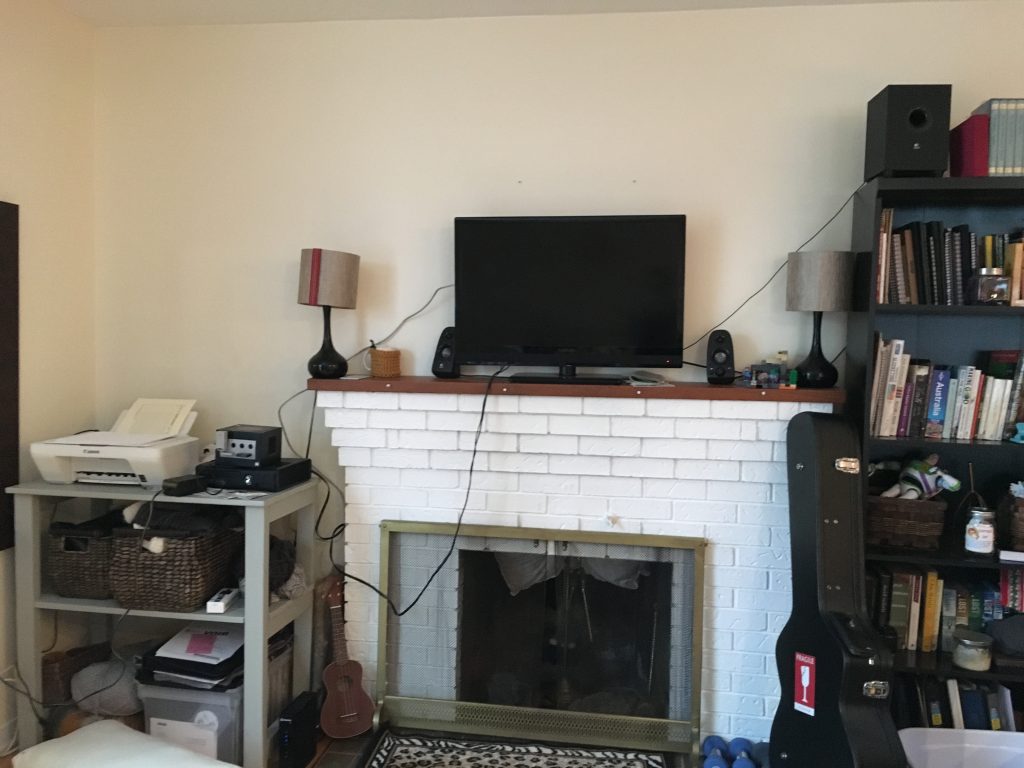
At this point in time we are now working on the living room. We just finished repairing some drywall cracks and we are getting ready to paint! I am very excited about this because I really dislike the current colour of our living room walls. They’re an off-white colour with a hint of yellow. Gross.

Step 1: Move the furniture
I will admit that I’m pretty lazy when it comes to prepping before doing any painting. But I need to emphasize how terribly things could have gone had I not moved all the furniture! Make sure all pieces of furniture are far enough away from the wall that drips or splatters will not reach them. And of course, don’t forget to remove any artwork that might be hanging on the walls in question.
Step 2: Clean the walls
You need to clean the walls before painting. There’s no way around it. I know it might sound dumb, but your walls are filled with dust, bug remnants, and other gross stuff that floats in the air and attaches itself to the walls. So clean your walls. Especially if you fixed up any drywall cracks! If you forget to clean the walls after doing that, your paint will not go on very smoothly. (I may or may not have learned that the hard way)
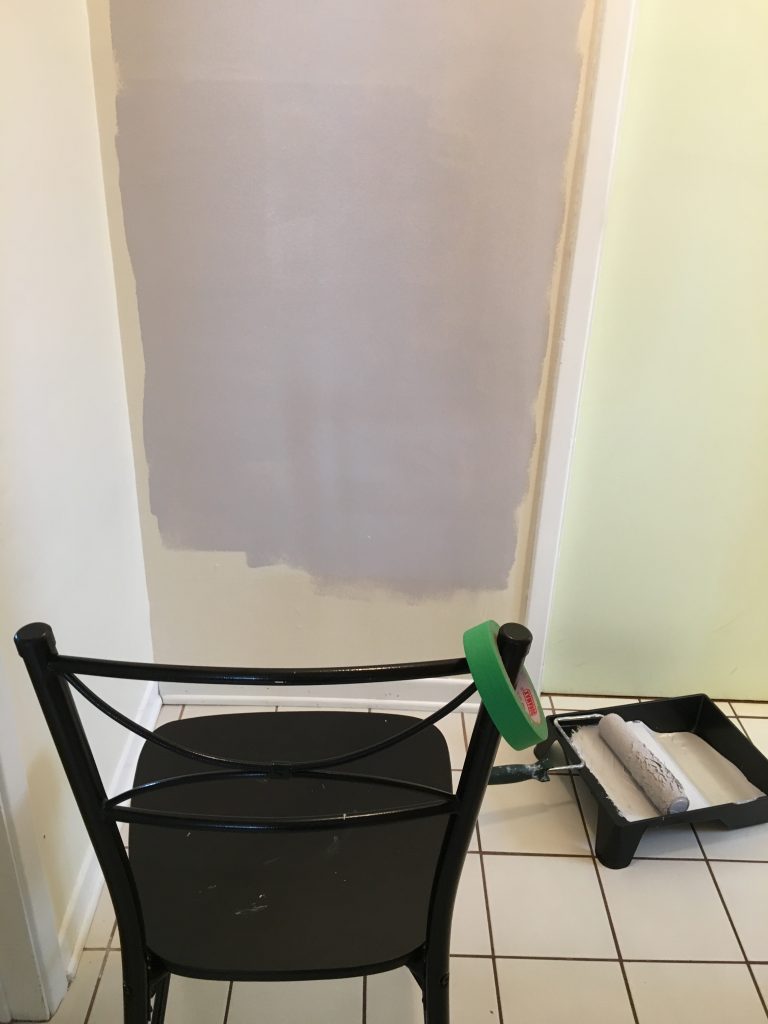
Step 3: Start Painting
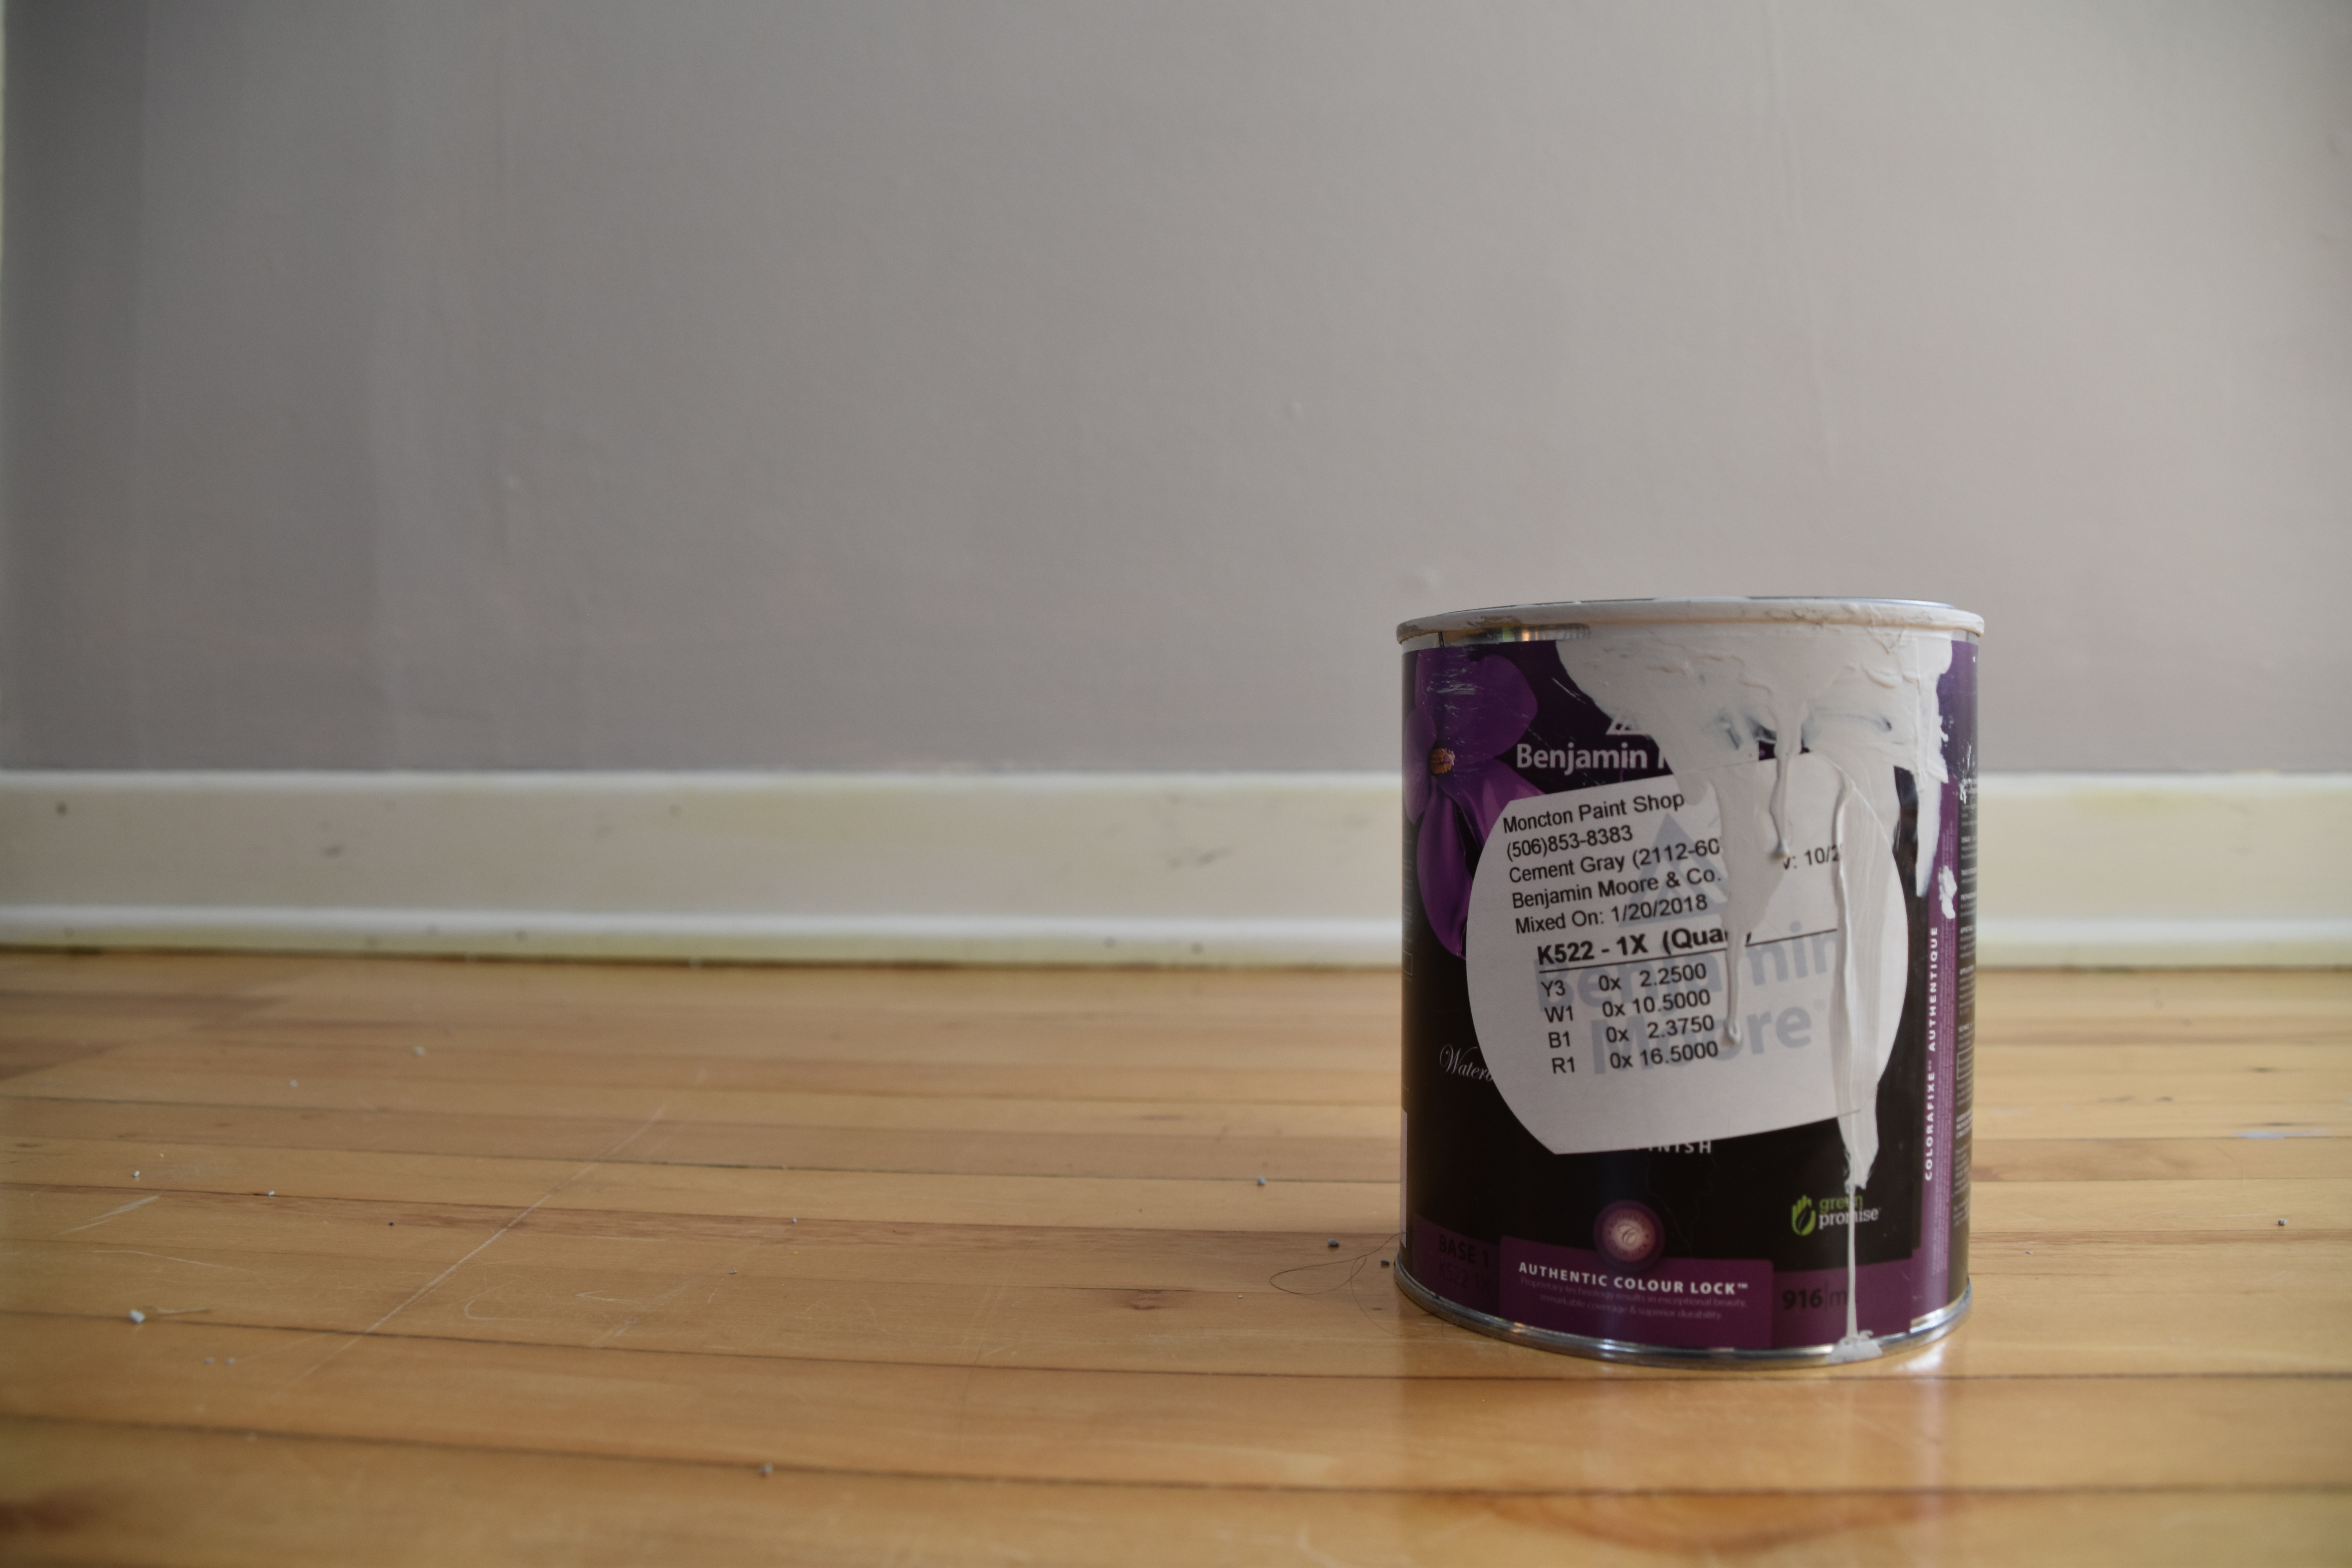
Hopefully before you started this project you already chose your primer and your paint. I was very fortunate to have received some very high quality paint from Benjamin Moore, courtesy of a family friend. The only thing I did not take into account was how much I would need. I only had one bucket, hoping it would be enough for two coats in the entire living room, dining room and kitchen area (because it’s an open concept house). Alas, it was not enough. So of course, my thought was simply to go to the store and get some more.
Wrong.
What I did not take into account was the brand name on the first bucket of paint. I didn’t realize that mixing the same colour with another brand’s plain paint could cause it to be a slightly different shade… And I may or may not have used this second bucket of paint to cover up some spots on a wall that was already painted using the first bucket of paint.
Yup, it was pretty obvious. So then I had to go out and buy even more paint to redo that entire wall.
All that to say, make sure you are prepared before you start working!

